Quick Navigation
If you have a MacBook that was owned by an organization like a company or school, or got a second-hand MacBook with limited functions, the device probably is installed with Mobile Device Management (MDM), a technology adopted to secure corporate data security but compromising certain functionalities of the device. If your MacBook no longer serves an organization, it'd be better to remove the MDM to access the full features.
But sound a bit tricky? Take it easy! In this guide, we will go over 4 easy and efficient ways to remove MDM from your MacBook, be it MacBook Pro or Air, to let you regain full control. Without further ado, let's read on to select the suitable method!
Is MDM Installed on Your MacBook?
What is MDM on Your MacBook?
MDM, short for Mobile Device Management, is a profile configured in devices provided by organizations, like enterprises or educational institutions, for data security and easy device management. Whether it's corporate-issued or personal devices (iPhone, iPad, MacBook and more), MDM can be manually installed through an enrollment profile or automatically via the Apple School Manager or Apple Business Manager app. After installation, organizations can control or monitor the devices remotely.
What Can MDM Do With A Mac?
A MacBook installed with MDM is restricted from certain activities, such as installing apps and customizing settings. It will be controlled by the administrator as well. The admin can collect and erase the data, lock the device, and track location in real-time. Yet, this doesn't mean MDM lets the admin access everything on your Mac. At least, MDM profiles can never access personal information, including email, messages, and browser history.
Where to Find MDM Profile on Mac?
Not sure whether your MacBook has the MDM profile? Follow the steps below to check it out.
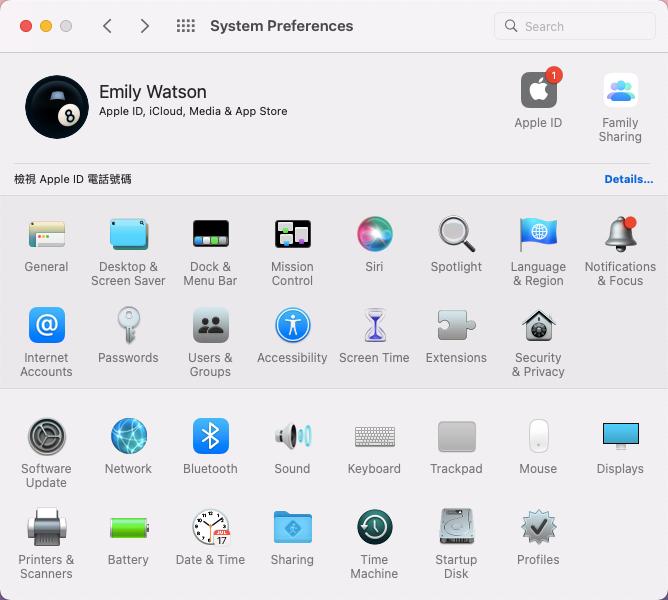
STEP 1. Head to System Preferences > Privacy & Security
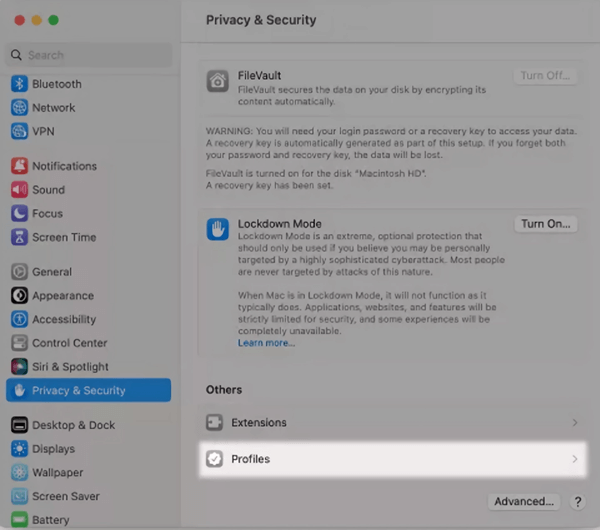
STEP 2. Scroll down and Click on Profiles.
- If you see MDM Profile or Mobile Device Management, your MacBook is installed with MDM.
- If you don't see any profile, run Activity Monitor and enter mdmclient into the search bar. If you see the process running or notifications saying "Install MDM Profile for SomeCompany Inc." pop up every 10 minutes, that means MDM is on your MacBook.

How to Remove MDM from Macbook (4 Ways)
Here we are going to introduce 4 quick ways to help you remove the MDM from Macbook Pro, Air or any Mac computers. The first 3 methods can even remove MDM profiles on your own. Before starting the process, make sure you have backed up the data on your MacBook. If you do, then you are ready to remove the MDM profile by selecting the best way!
1. Delete the MDM Profile on System Preferences
Removing the MDM profile from system preferences is the easiest way for MacBooks with macOS 10.15 (Catalina) or below. But Apple sets restrictions on the devices running on macOS 10.15 (Catalina) or above. If you are using such a device, only if you have the admin account and password, can you follow the below steps to remove MDM on your MacBook manually.
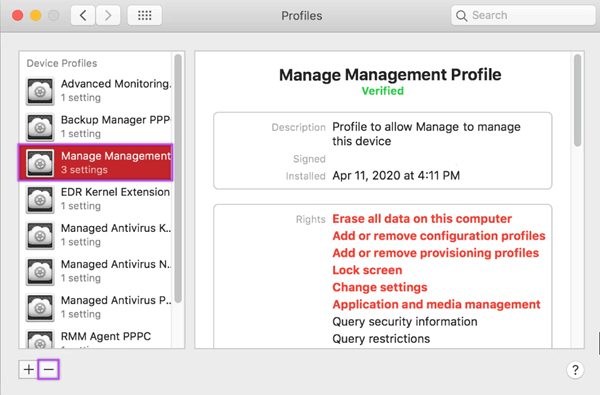
STEP 1. Go to System Preferences > Profiles.
STEP 2. Select the MDM profile from the list.
STEP 3. Click on the minus (-) button of the target profile to remove the profile.
STEP 4. Click Remove on a pop-up window to confirm removal.

Note
If you are using macOS 10.15 or above, you have to enter admin credentials to complete this step.
2. Remove a Non-Removable MDM Profile in Recovery Mode
If the MDM profiles are non-removable via System Preferences, you may have to wipe the whole system to take them out. However, there is a hacky workaround available to remove a non-removable MDM profile without a complete wipe. Since it requires typing the command line, this method would be easier for tech-savvy or experienced users. If you are interested in it, scroll down to start removing a non-removable MDM profile from MacBook:
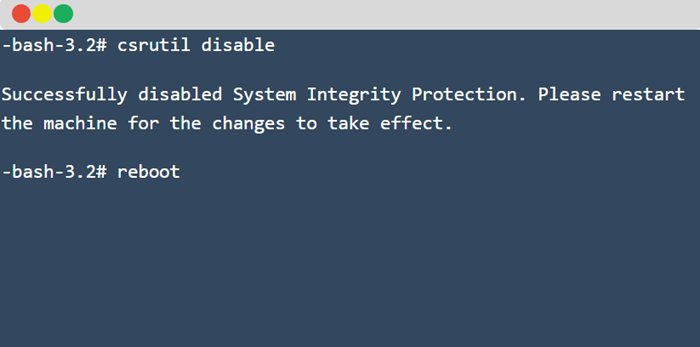
STEP 1. Start your MacBook in Recovery Mode. Head to Utilities > Terminal. Enter: csrutil disable
STEP 2. Reboot into macOS > integrated terminal. Enter the below command line:

STEP 3. Reboot your MacBook in Recovery Mode. Head to Utilities > Terminal. Enter: csrutil disable
STEP 4. Reboot into macOS. Now that MDM profiles are successfully removed from your MacBook.
3. Use a Third-Party Tool for Mac MDM Removal
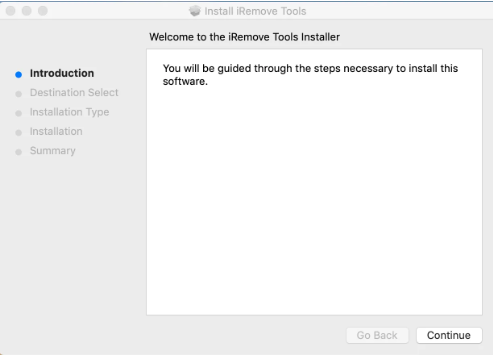
To remove MDM profiles efficiently, using third-party software is also a viable option. iRemove Tools is one of the reliable tools that enables you to remove remote management on MacBook Pro & Air (M1 & T2) without password.
Here is the step-by-step guide:
STEP 1. Boot your MacBook into Recovery Mode.
STEP 2. Erase and reformat a storage device. Once completed, reinstall your macOS.
Note
During the installation process, it is essential to turn off the router. Your Mac will restart, just wait until the installation process is completed.
STEP 3. After that, when Select a Wi-Fi network pops up, click on Other network settings > My Mac computer does not connect to the Internet to finish the setup.
STEP 4. Boot your MacBook into Recovery Mode. Head to Utilities > Terminal. Enter the command line below:
STEP 5. Reboot into macOS. Install and launch iRemove, and follow the instructions to bypass MDM profiles.
4. Remove MDM from Mac by Contacting the IT Depart
If you have a legitimate reason, it is recommended to contact the IT department of your previous organization directly to remove the MDM profile. Provide your organization ID and the serial number of the MacBook when necessary. If the MDM administrator are willing to help, send the guide below so that the admin can get MDM profile removed remotely from your MacBook in a minute.
Here's the guide on how to remove MDM on MacBook in Apple Business Manager:
Step 1. Open the Apple Business Manager app, and log in to the Apple Business Manager account.
Step 2. You will see "Devices" in the sidebar. Click it. Search the MDM-locked MacBook.
Step 3. Check the "I understand that this cannot be undone" box.
Step 4. Click on the "Release" button to delete the Mac from the Apple School Manager account.
Step 5. Make sure your MacBook has been backed up. Then, erase the MacBook. Otherwise, the MDM is still on Mac.
How to Check Whether MDM on MacBook is Removed
Up to this point, you may have successfully completed the MDM removal process on your MacBook, if you picked one of the ways above to remove MDM.
Now it'd be better to verify the MDM profile is entirely removed. Here's how to know if MDM Profile is removed from your MacBook Air:
Go to System Preferences > Profiles to check if there is no MDM exists. If so, then test the functionalities of your MacBook. If they work properly, or you can change the settings as you like, then the MDM is removed from your Mac. After that, you can retrieve your backup data to set up your MacBook!
Extra Tip: How to Remove MDM from iPhone and iPad without Password
So far, we have talked about removing MDM from MacBook. If your iPhone and iPad were owned by companies or they were installed with MDM, you may want to remove MDM from your devices. While the methods above are not suitable for iOS devices, you can use a MDM removal tool for iPhone or iPad - Passvers iPhone Unlocker.
Compatible with all models of iPhone and iPad, Passvers iPhone Unlocker is capable of fixing MDM issues on devices that are in normal use or locked with "Remote Management". It has been tested on some commonly used MDM service providers, such as IBM, ManageEngine, and VMWare, and the result shows that eliminating MDM profiles is a breeze with Passvers. It also featured straightforward on-screen guides to allow you to complete the removal with minimal effort. Hence, for people in need, Passvers can definitely bring you the best peace of mind.
>> For more methods, be sure to check: How to Completely Remove MDM from iPad/iPhone.
Passvers iPhone Unlocker: Remove MDM from iOS Devices Permanently
- 100% Success: Remove MDM completely from devices and make your device brand new without MDM anymore.
- Various MDM Lock Removal: Remove MDM profiles from both MDM-locked and disabled devices.
- Easy MDM Removal: Simple UI and on-screen tutorials make the process simple for newbie.
- Fast Speed: Only cost a few minutes to take out MDM profiles.
- Great Compatibility: Works on all models of iPhone and iPad. Runs on Windows and Mac.
With such noticeable features, how can Passvers enable you to successfully remove MDM on iPhone and iPad? Let's have a closer look at the instructions in the next section.
Remove MDM from iPhone/iPad that Work Properly
STEP 1. Launch Passvers
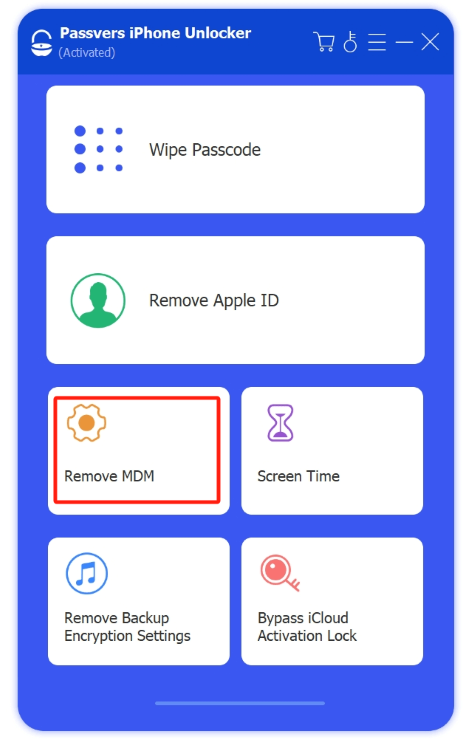
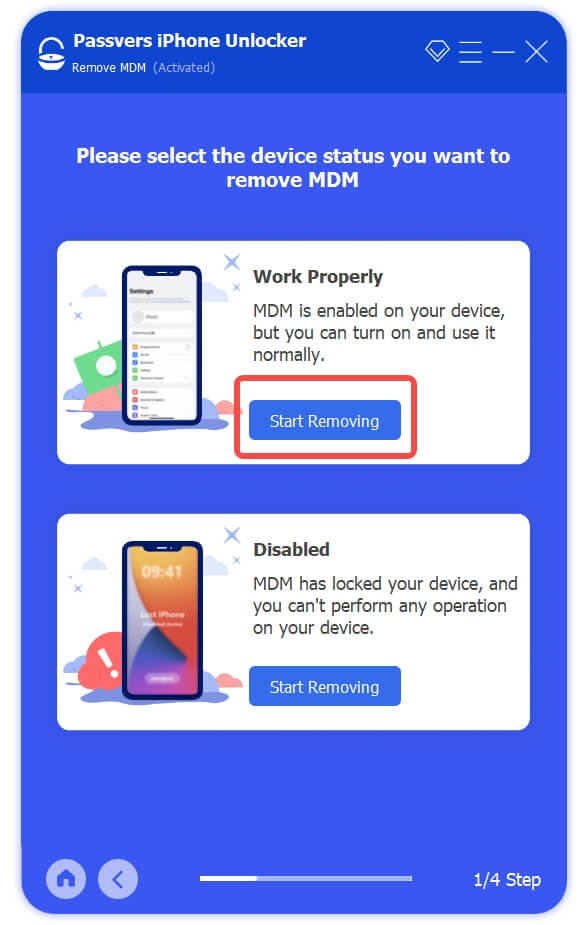
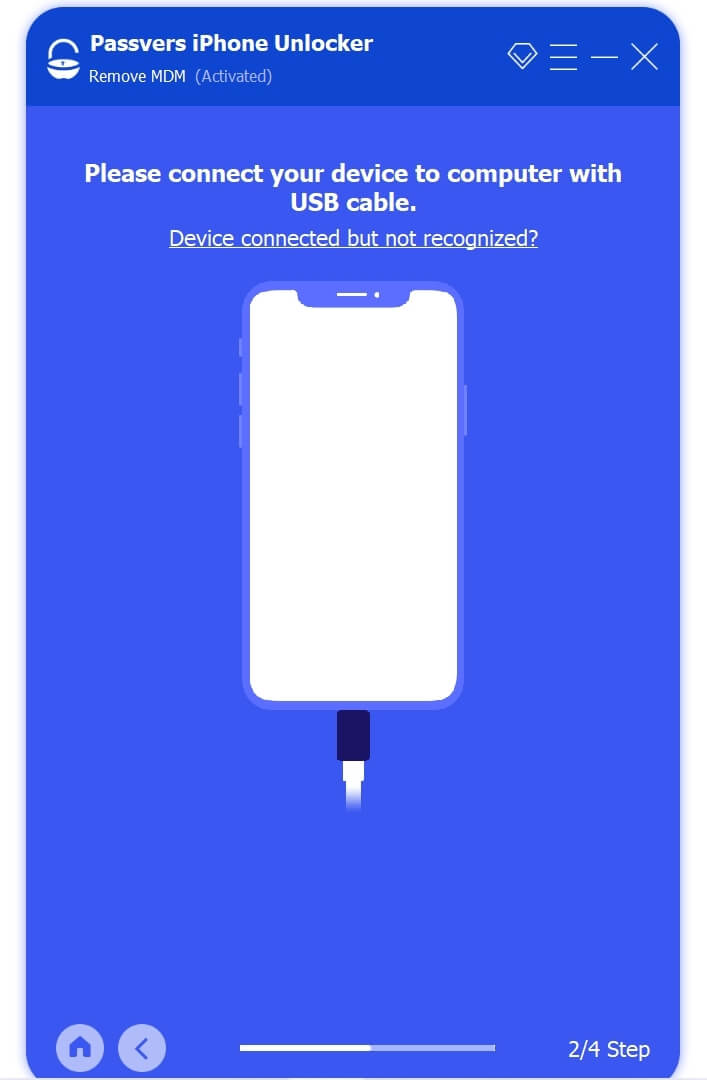
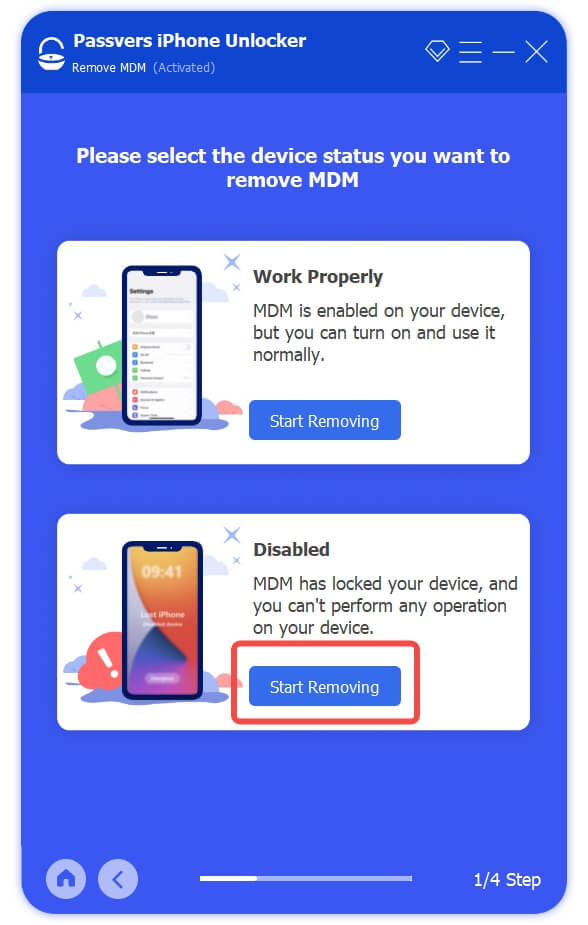
Download and launch Passvers. Click on Remove MDM > Work Properly > Start Removing. Then use a USB cable to connect your iPhone/iPad to your computer.
STEP 2. Ensure "Find My" is off
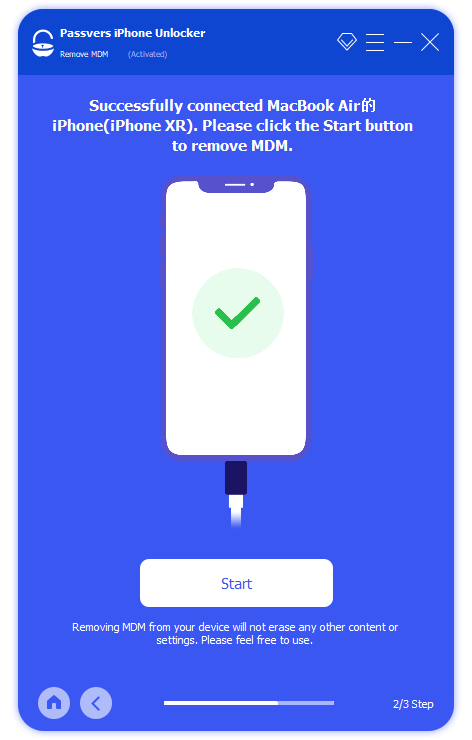
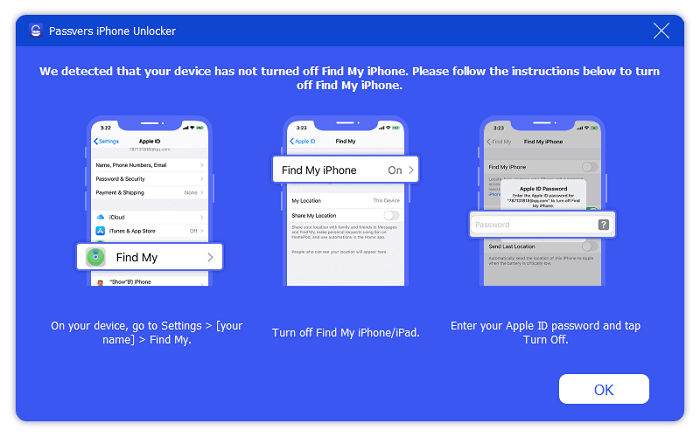
Once connected, press Start. Then follow the instructions to check whether "Find My" is set to turn off.
Note
If "Find My" is on, please turn it off with your Apple account. Otherwise, the removal process will not proceed.
STEP 3. Remove MDM from Your Device
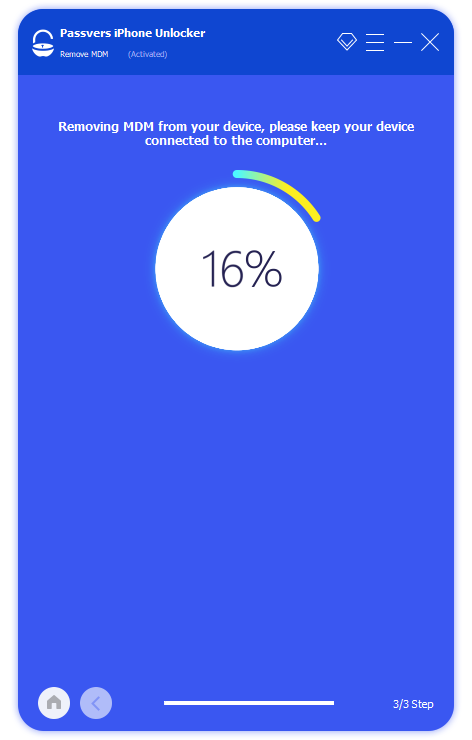
When "Find My" is off, the removal will automatically start to process. Just wait for a few minutes before it removes the MDM. The whole process won't delete your data and settings.
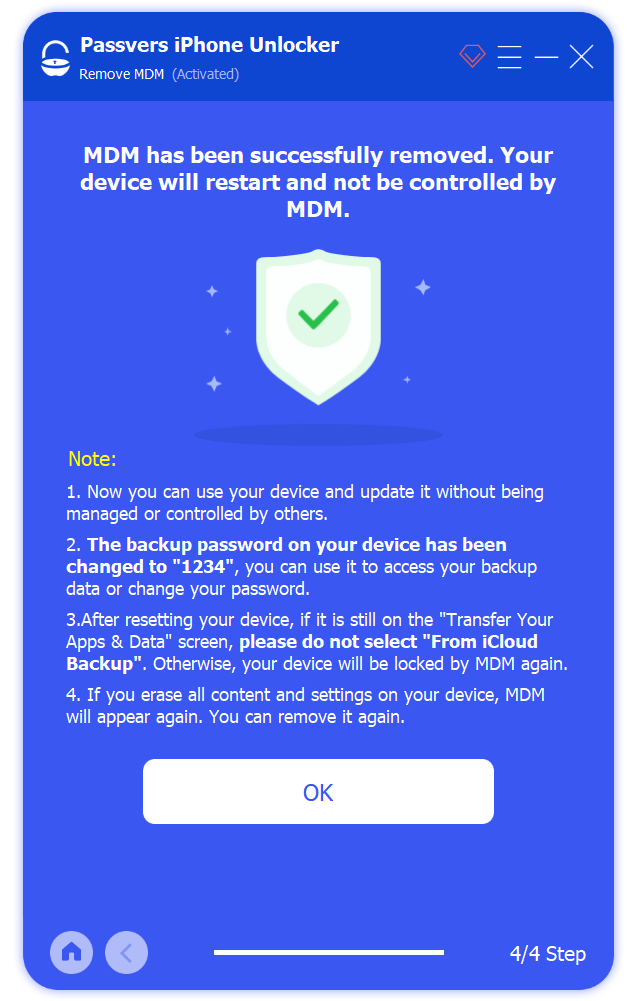
Once the removal process is completed, your device will restart. After that, the device is no longer in control of remote management.
Note
If you want to back up the data with iTunes in advance, feel free to do that. MDM profiles will not be stored in iTunes.
Remove MDM from Disabled iPhone/iPad Stuck on MDM Screen
STEP 1. Launch Passvers
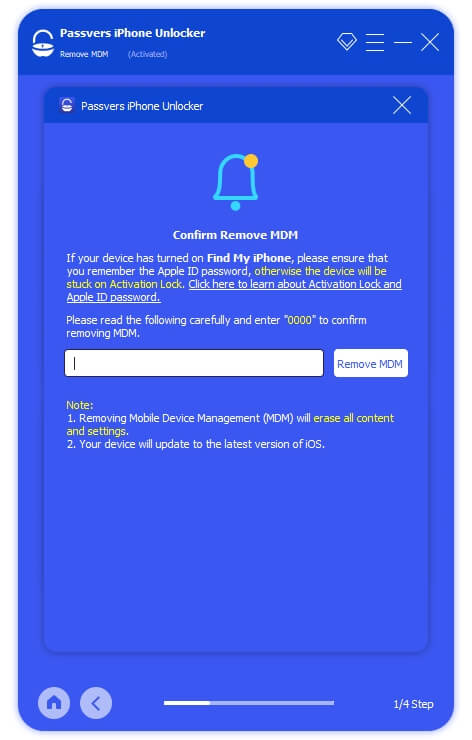
Download and launch Passvers. Click on Remove MDM > Disabled > Start Removing. Type 0000 into the bar.
STEP 2. Get your Device into Recovery Mode
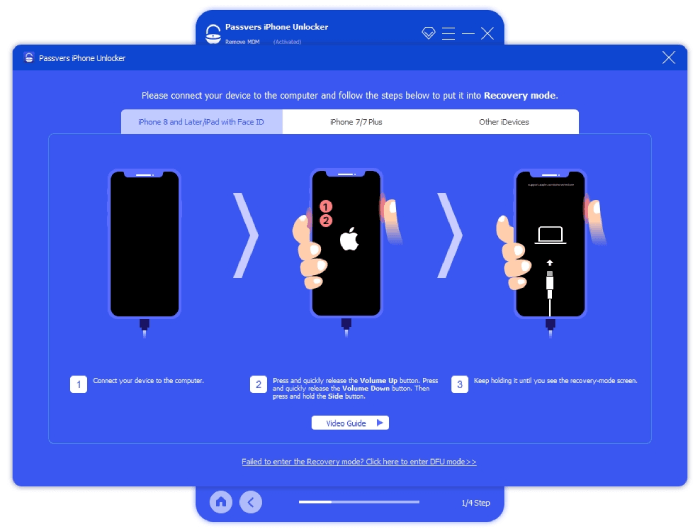
Use a USB cable to connect your iPhone/iPad to your computer. Follow the instructions to get your device into recovery mode.
STEP 3. Install Firmware Package for Your Device
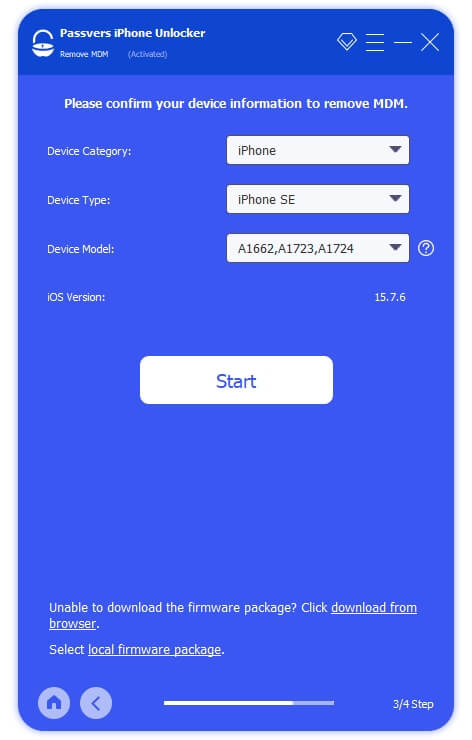
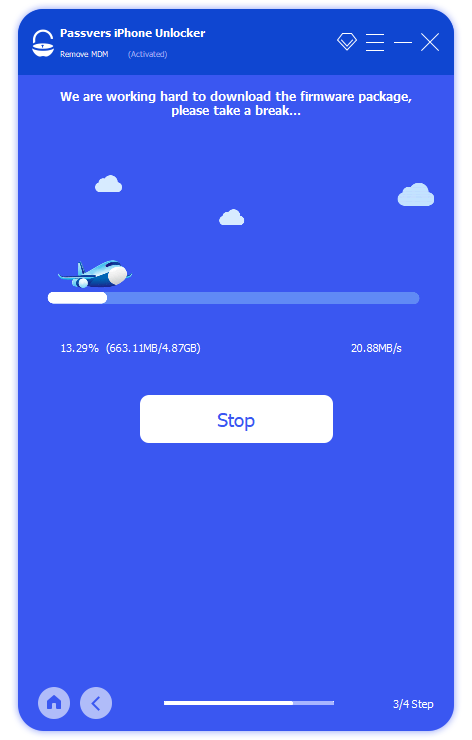
Confirm your device information (including category, type, model), then click Start to download and install the firmware package.
Note
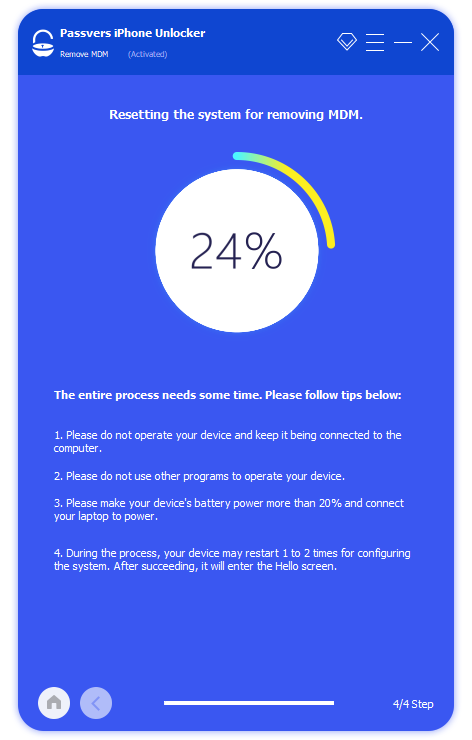
The downloading speed depends on the network connection. The display may turn into the Apple logo with a progress bar. Don't worry, just wait until it ends.
STEP 4. Remove MDM from Your Device
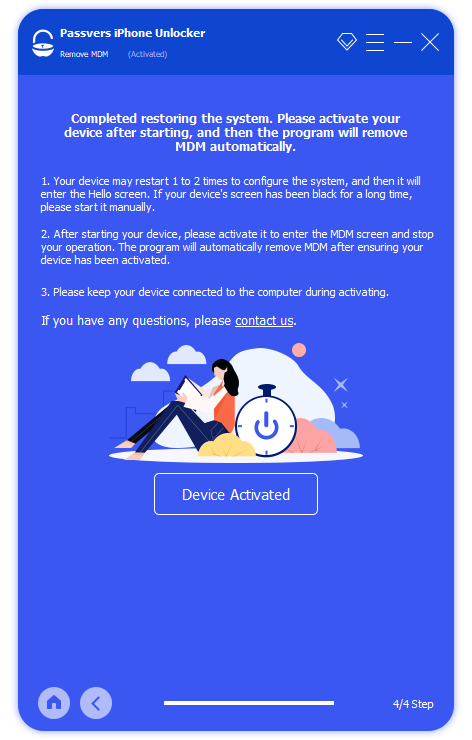
When it is done, hit Device Activated to activate the device. Click OK when a reminder pops up. Continue to wait until the Hello interface appears on the screen. Then you need to manually activate the device. Afterward, the device will restart, which menas MDM is completely removed from your device.
Note: Removing MDM from disabled devices can cause data loss. You can recover iPhone data using iCloud.
Now that your device is MDM-free, you can customize the iPhone/iPad for normal use. Enjoy using your device!
Conclusion
A MacBook locked with MDM restricts your access to applications or brings inconveniences. With the 4 ways above, you can finally get rid of the restrictions by removing MDM from MacBook Pro or Air. For macOS 10.15 and before, it's recommended to directly delete the profile from Mac. If your device is macOS 10.15 and after, try the other 3 methods. With the step-by-step guides, anyone can learn how to remove MDM profile from MacBook immediately!
If you happen to have an iPad and iPhone to remove MDM, instead of manually removing it, try Passvers iPhone Unlocker to remove MDM profiles easily and effortlessly.
FAQs about MDM on MacBook
Will factory reset remove MDM on Mac?
That depends. Factory reset can't remove MDM on Mac if the device is still enrolled into the MDM system. If you reset the device enrolled with MDM, the MDM profile will keep popping up and ask for the admin's name and password. However, if your MacBook has been unenrolled from the MDM list, you may need to reset the device to remove the MDM profile completely.
Why can't I remove MDM profile on MacBook?
When the administrator sets the MDM profile installed on a managed Mac computer as non-removable, nobody can delete the MDM profile from MacBook. The solution is to contact the admin for the password or try the above ways.
